

Experience from making the 935 Artist's Proof led me to figure out a way to avoid having to hog out the entire engine bay with chisels. CAD preparation let me develop a way to surround the space instead.
The main body block is a bit like the monocoque in a race car. It's load bearing and everything else is built off of it. It runs from the base of the windshield to the rear fender edge. In order to leave space for the engine bay and still create the side profile, a small extension piece is needed.
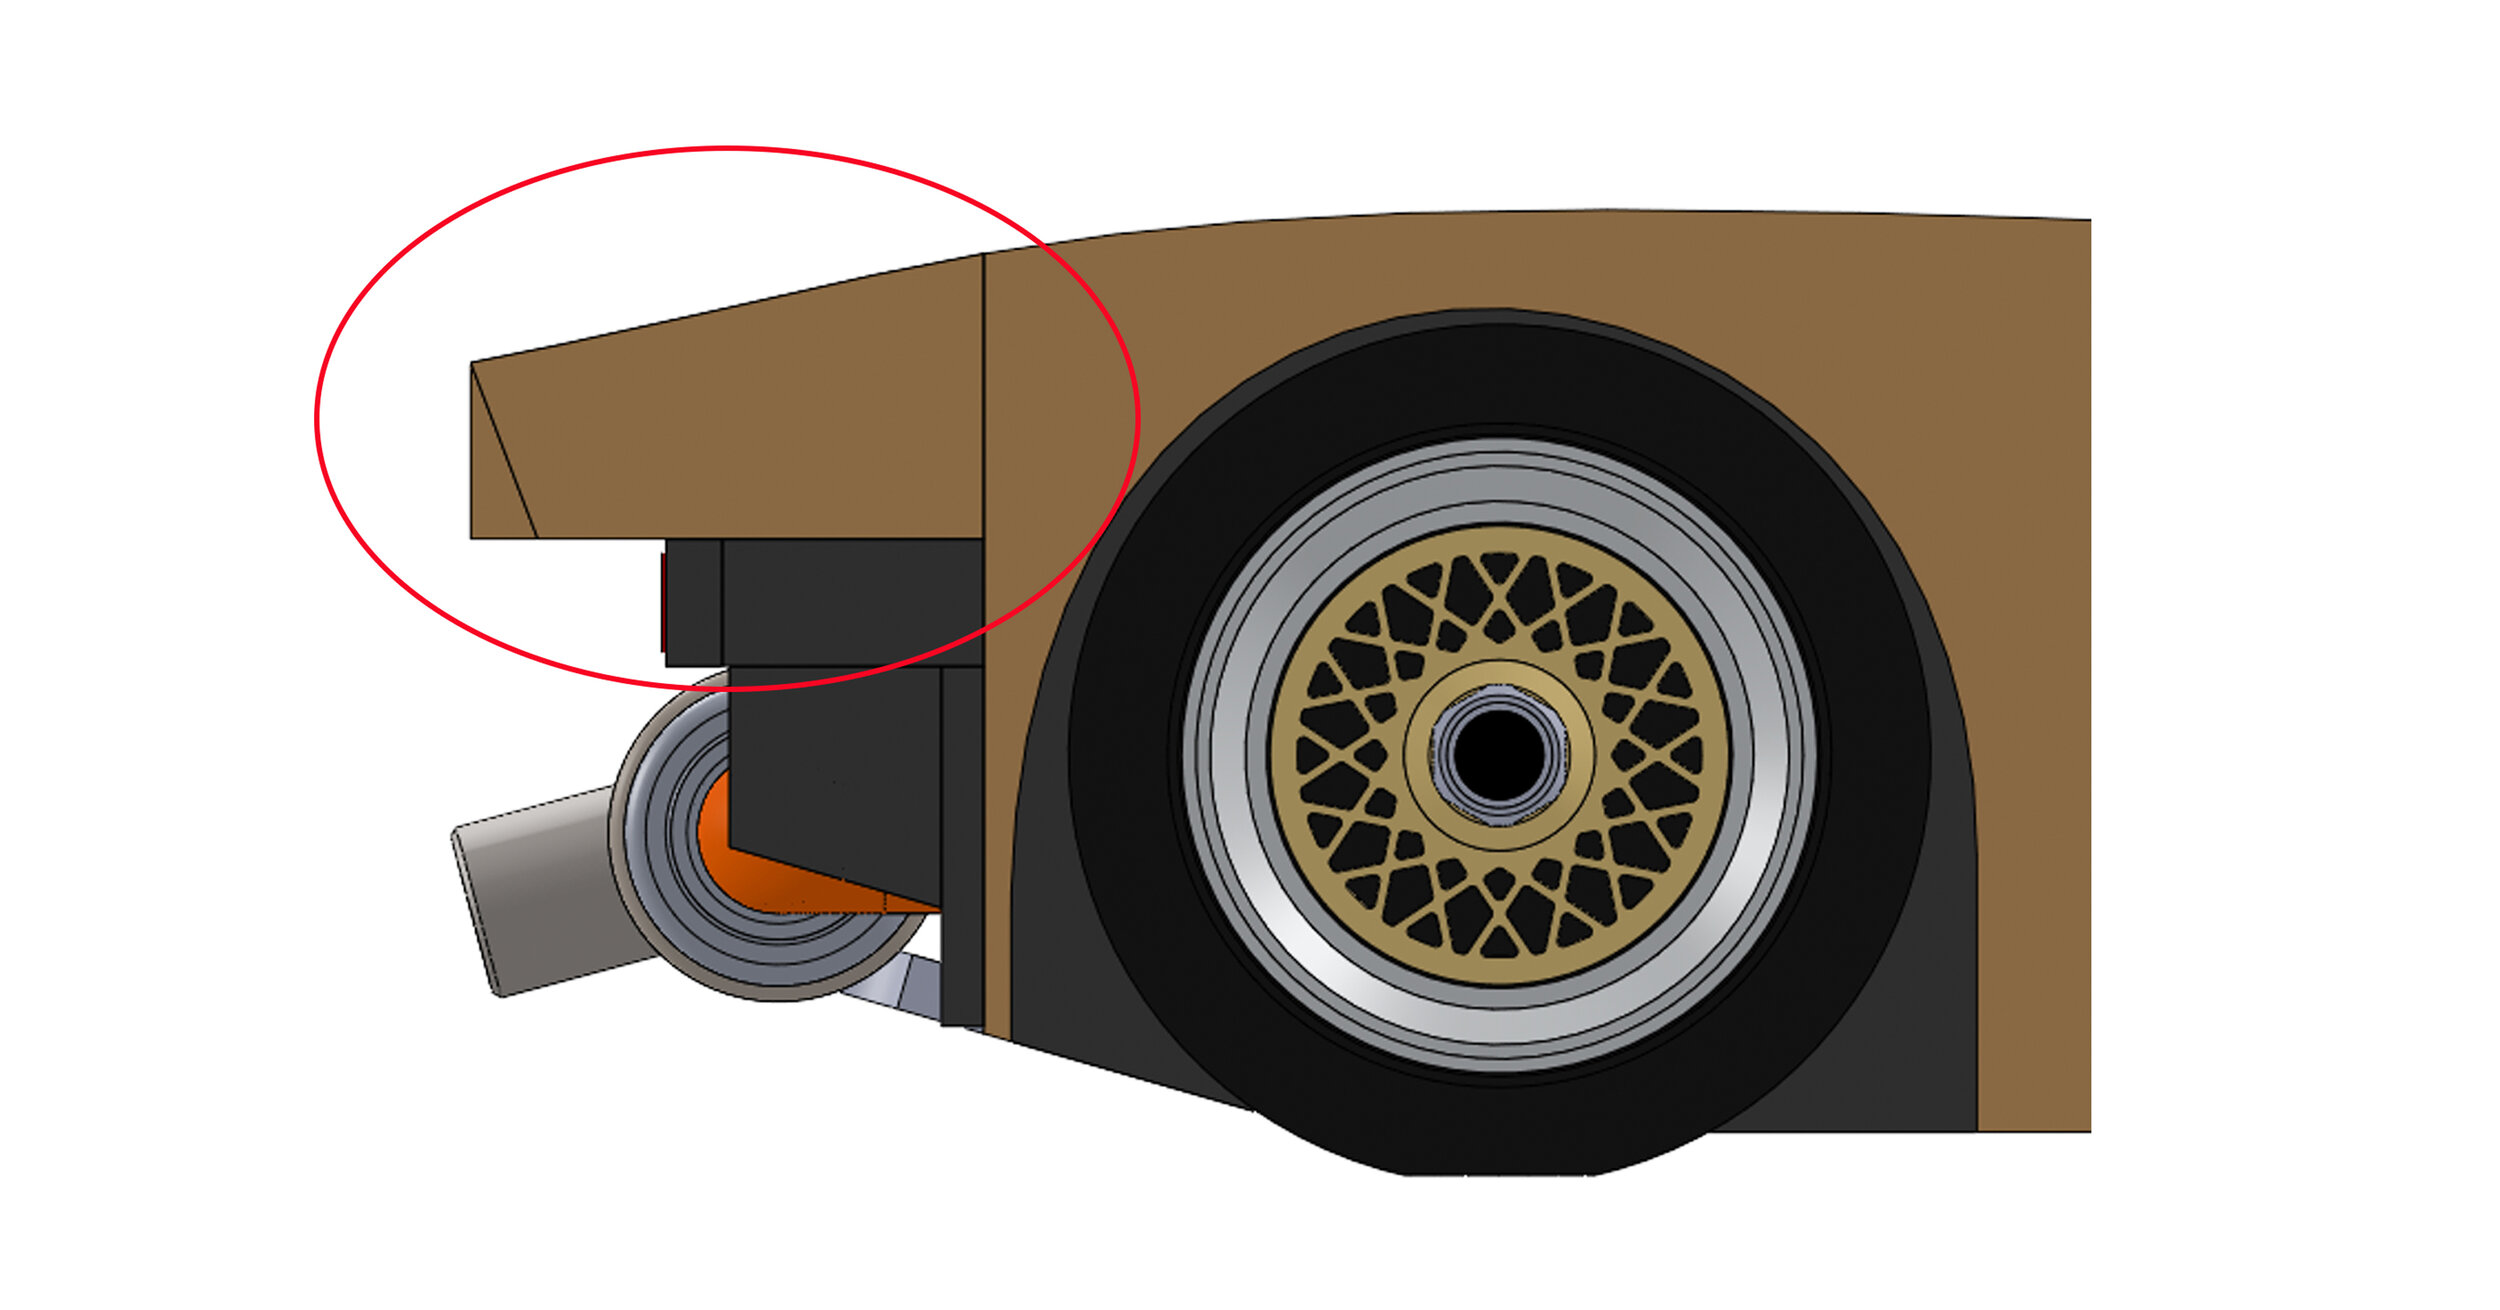
This is the extension from the main body that will carry the main body profile through to the rear fender edges.

Previously glued up butterfly stock was rough cut to thickness. The measurement gage block allows faster bandsaw set ups.

The extensions have been thickness sanded and cut to nominal size, ready to be glued in place.
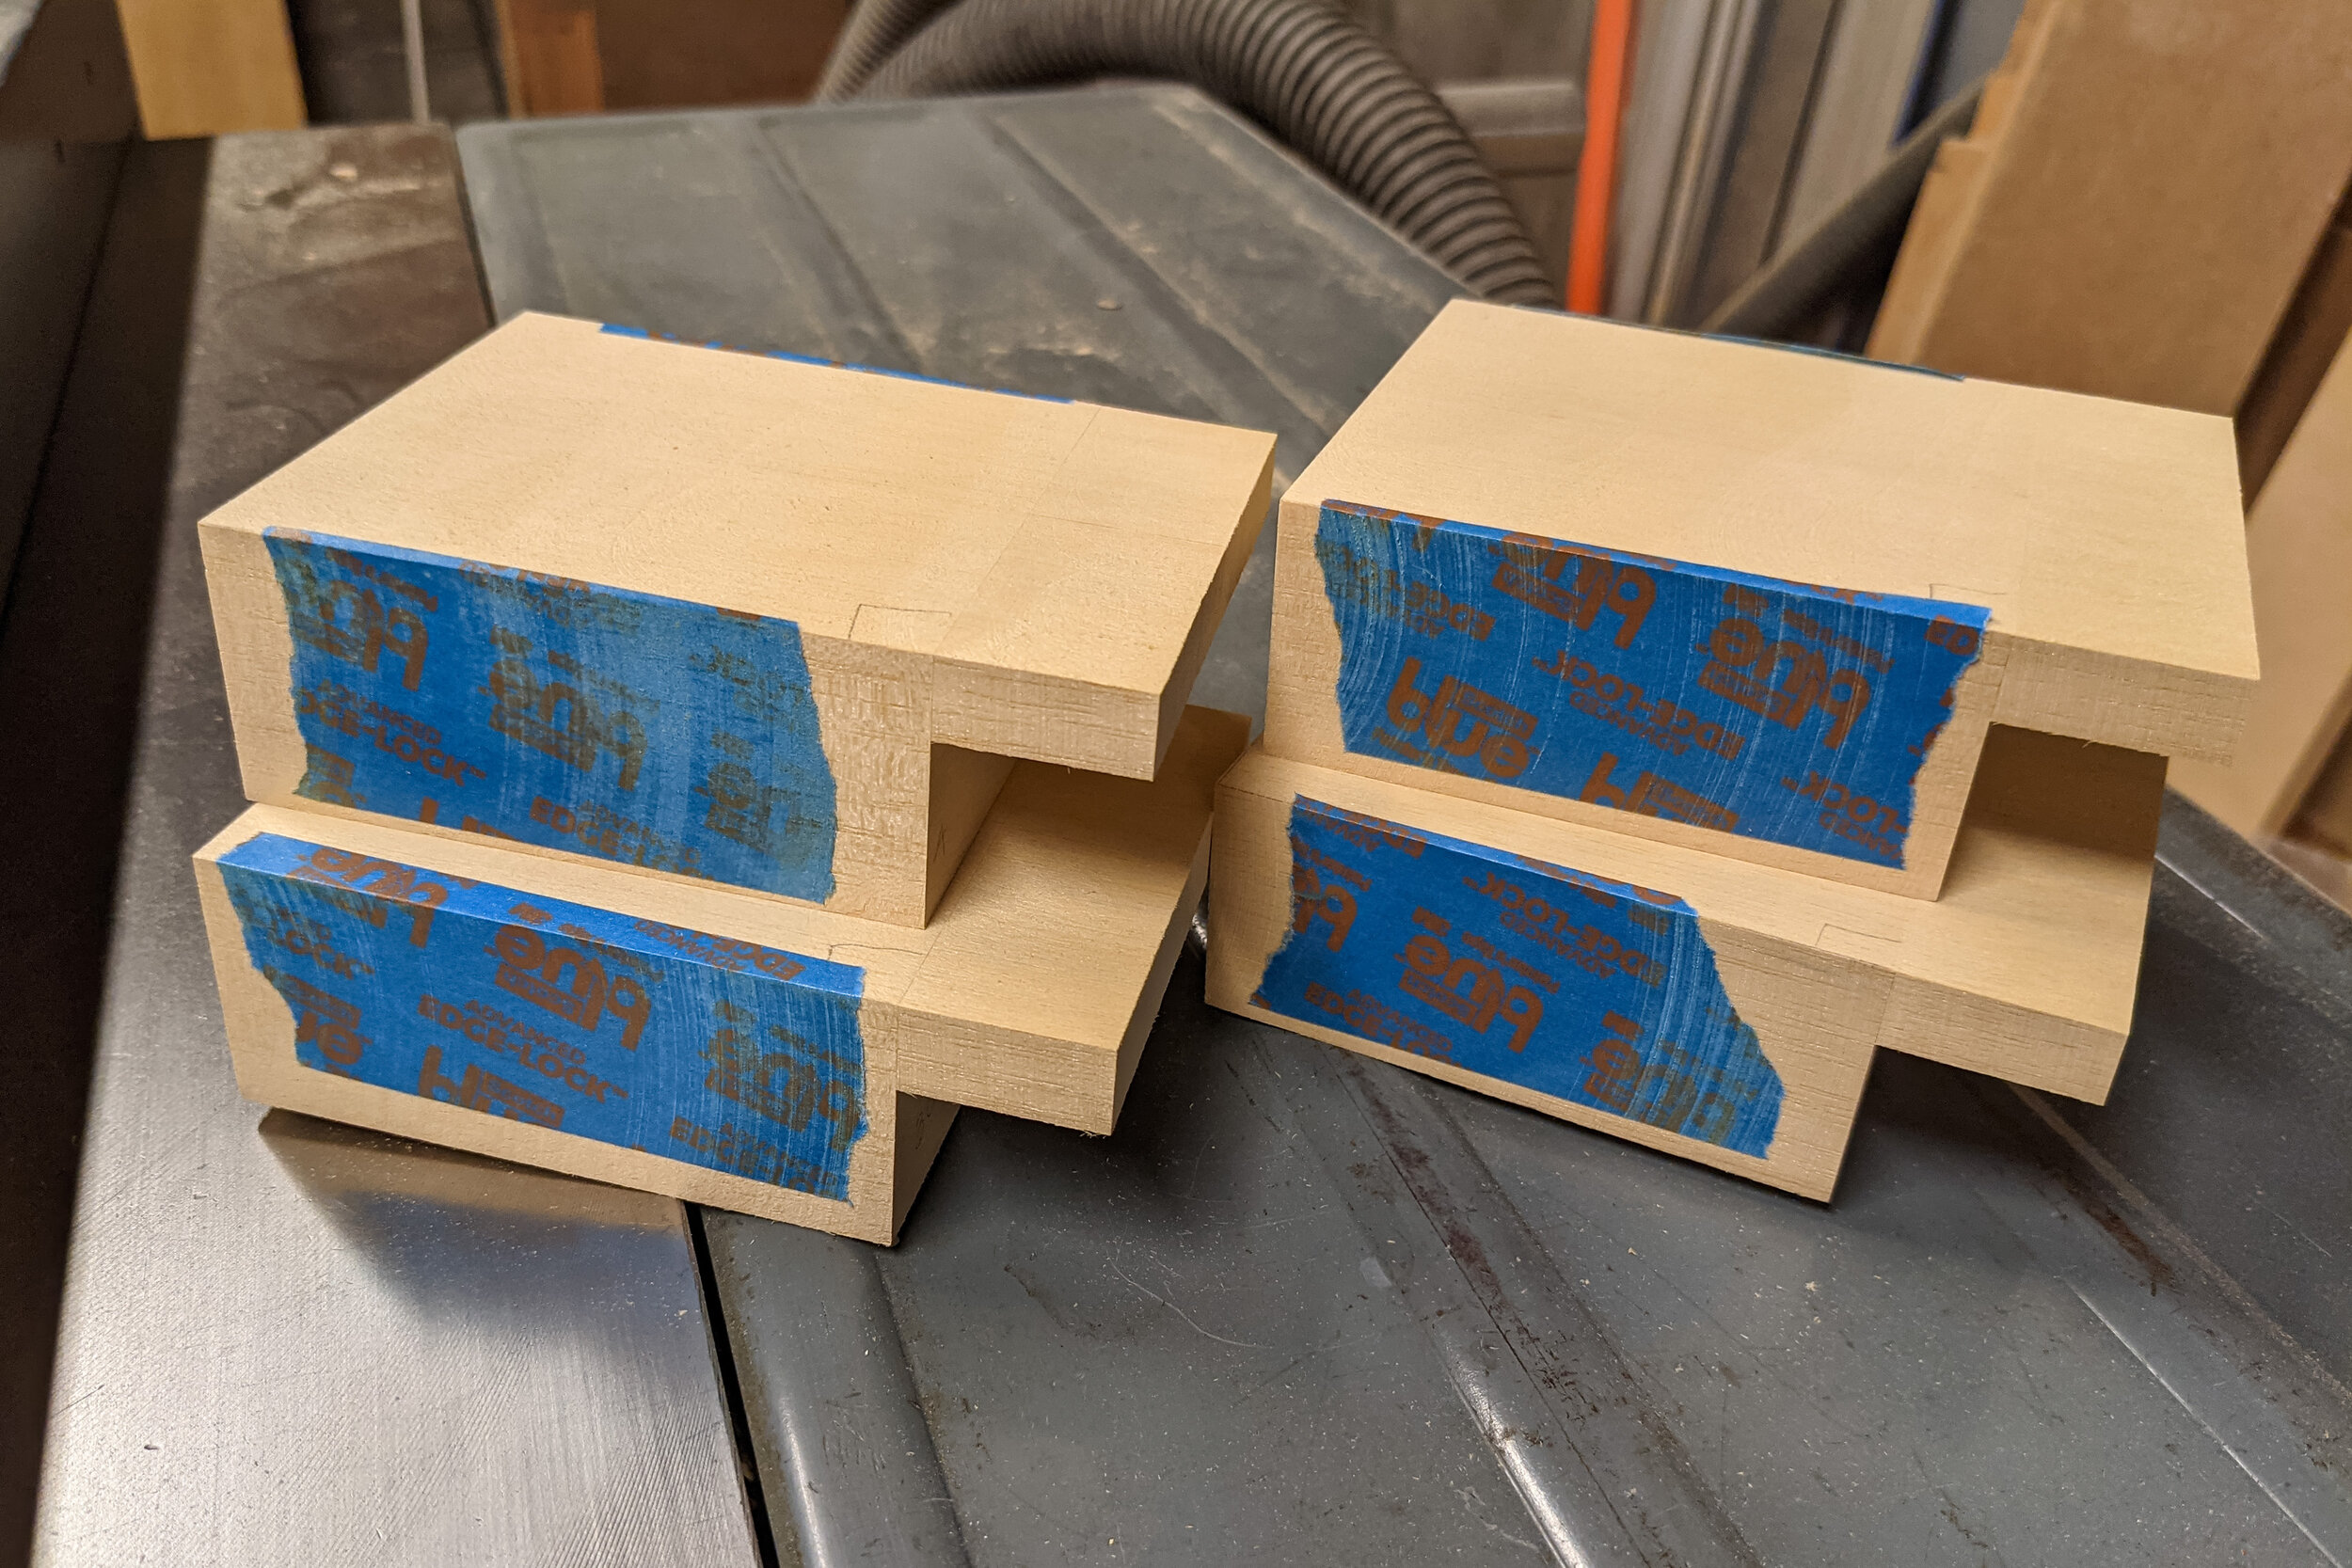
All glued up and sanding has been started. Since squareness is important, the blue tape allows me to do my preliminary sanding quite close to finished dimensions without taking off any needed material.
Careful incremental sanding gave indications on the tape that showed it was close enough to be finished sanded by hand.
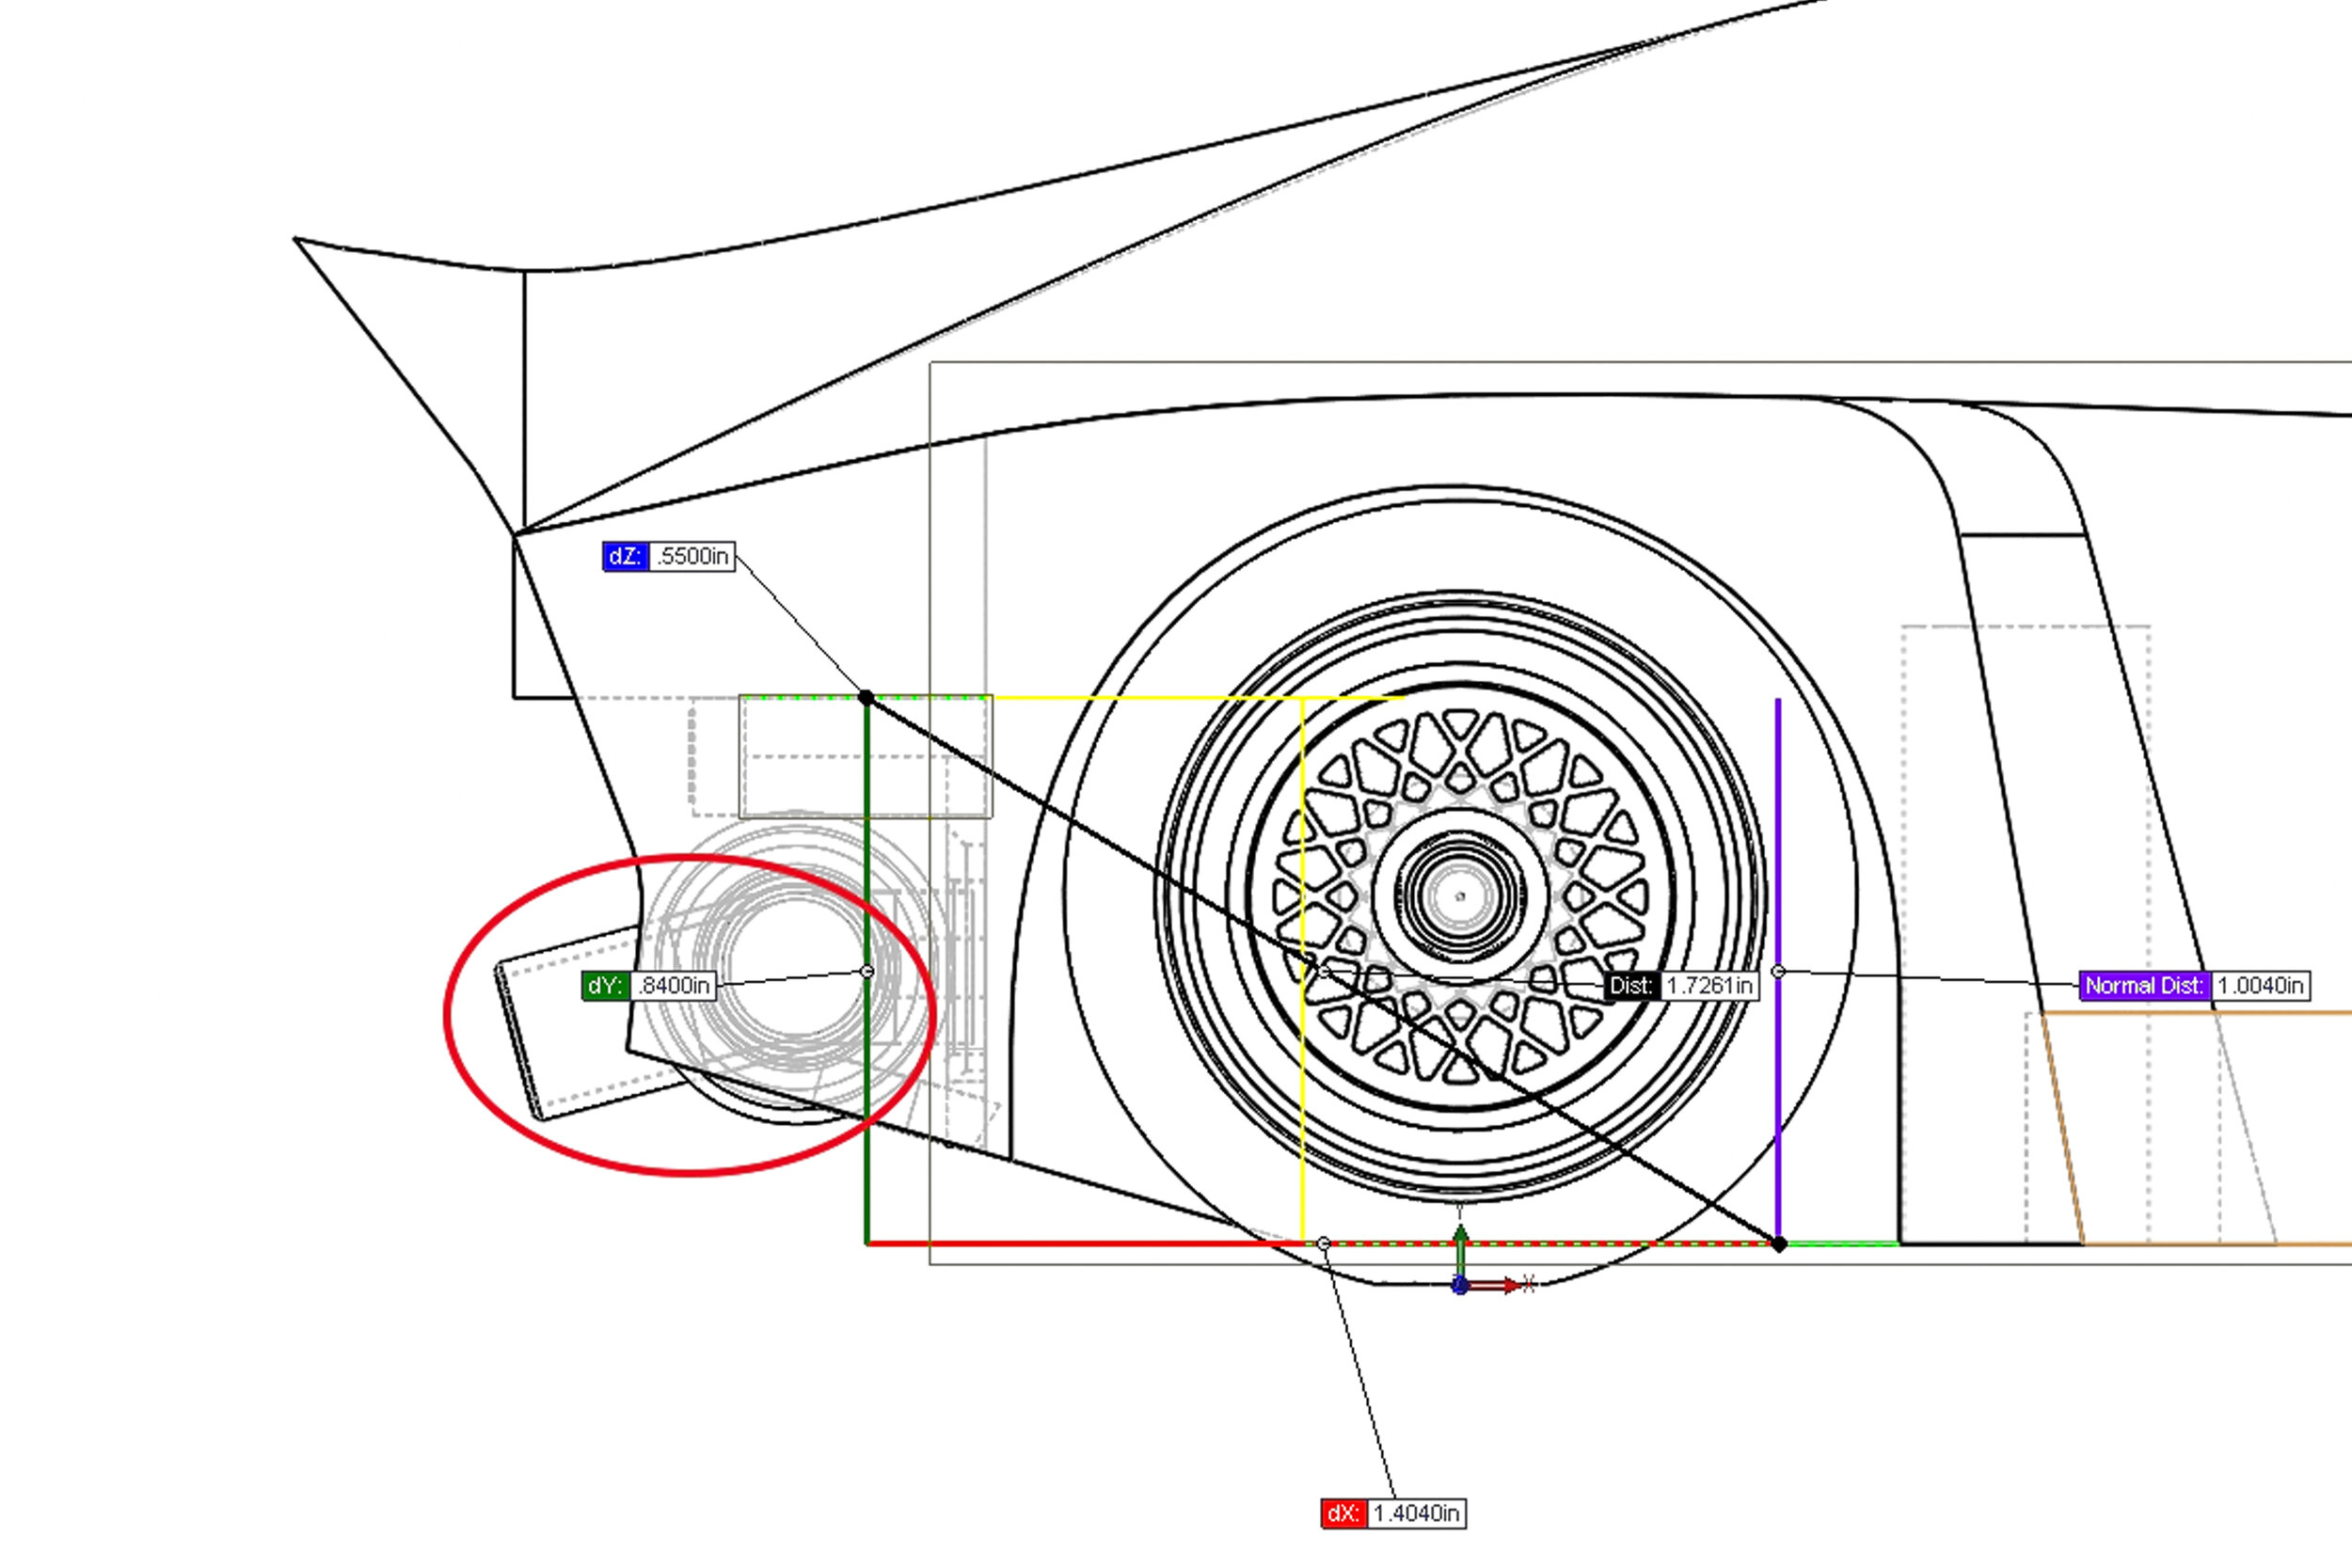
Arghhh! CAD and reality did not match. My mind was elsewhere when I determined the position of the extensions. The good part is that I could add material in a more controlled way than I could have removed it.
New extension gap-fillers were made and then it was back to gluing and sanding. Measure as many times as it takes and cut once.

Once the correct dimensions were reached, I made and applied the side profile templates and then carefully added the main side profile.
Next up - 005 - Greenhouse - The Porsche G935 greenhouse is one of the most important pieces to be added since it determines the position and shape of so many other parts.
For more of the story click on any of the following links:
020 - Graphics - Clear Coat - Assembly
012 - 2nd Skins Layer-Splitters
007 - 3D Printing the Engine Bay
004 - this post