

It's time to work on the shape, size, position, angle of attack and stronger mounting for the rear wing. In particular, the wing size and end plate shapes vary quite a bit on 1:1 935's so I need to work out my interpretation.
Just like the real wings, it's fussy work that makes a big difference.
The wing support strut (the part in blue) curves in two directions - one for the side view profile and one for the plan view profile.

The first step was making the side view roof line template. An old-school contour gauge worked just fine to transfer the shape to MDF. Major shaping was done with a tall sanding drum on the drill press and then finish shaping by hand.

The finished template was used to transfer both the passenger and driver side support strut roof line profiles at the same time before more shaping.

The greenhouse plan view profile was done with an even older method. Paper is taped in place, the centerline is marked and then the edge of a pencil was used to crease the paper and mark the edge at the same time.
Since each G935 is just slightly different, this method works beautifully.

The plan view greenhouse profiles were attached to the already side roof line profiled blocks and shaped again on each side starting with the drill press.
This provided a sufficiently large flat surface to keep them vertical during power shaping. They were then finished by hand to match each side of the intercooler box.

Next, the final thicknesses were marked top and bottom, followed by a lot of finicky hand-shaping to make them even all along the curve.

Then, after final fitting, both struts were glued in place.

Shaping of the upper curves of the struts is critical since they will determine the position of the wing both vertically and lengthwise in relationship to the main body.
Preliminary guidelines are in place and coarse chiseling has removed some of the waste. This shaping will continues to be refined throughout wing development with finer and finer tools.
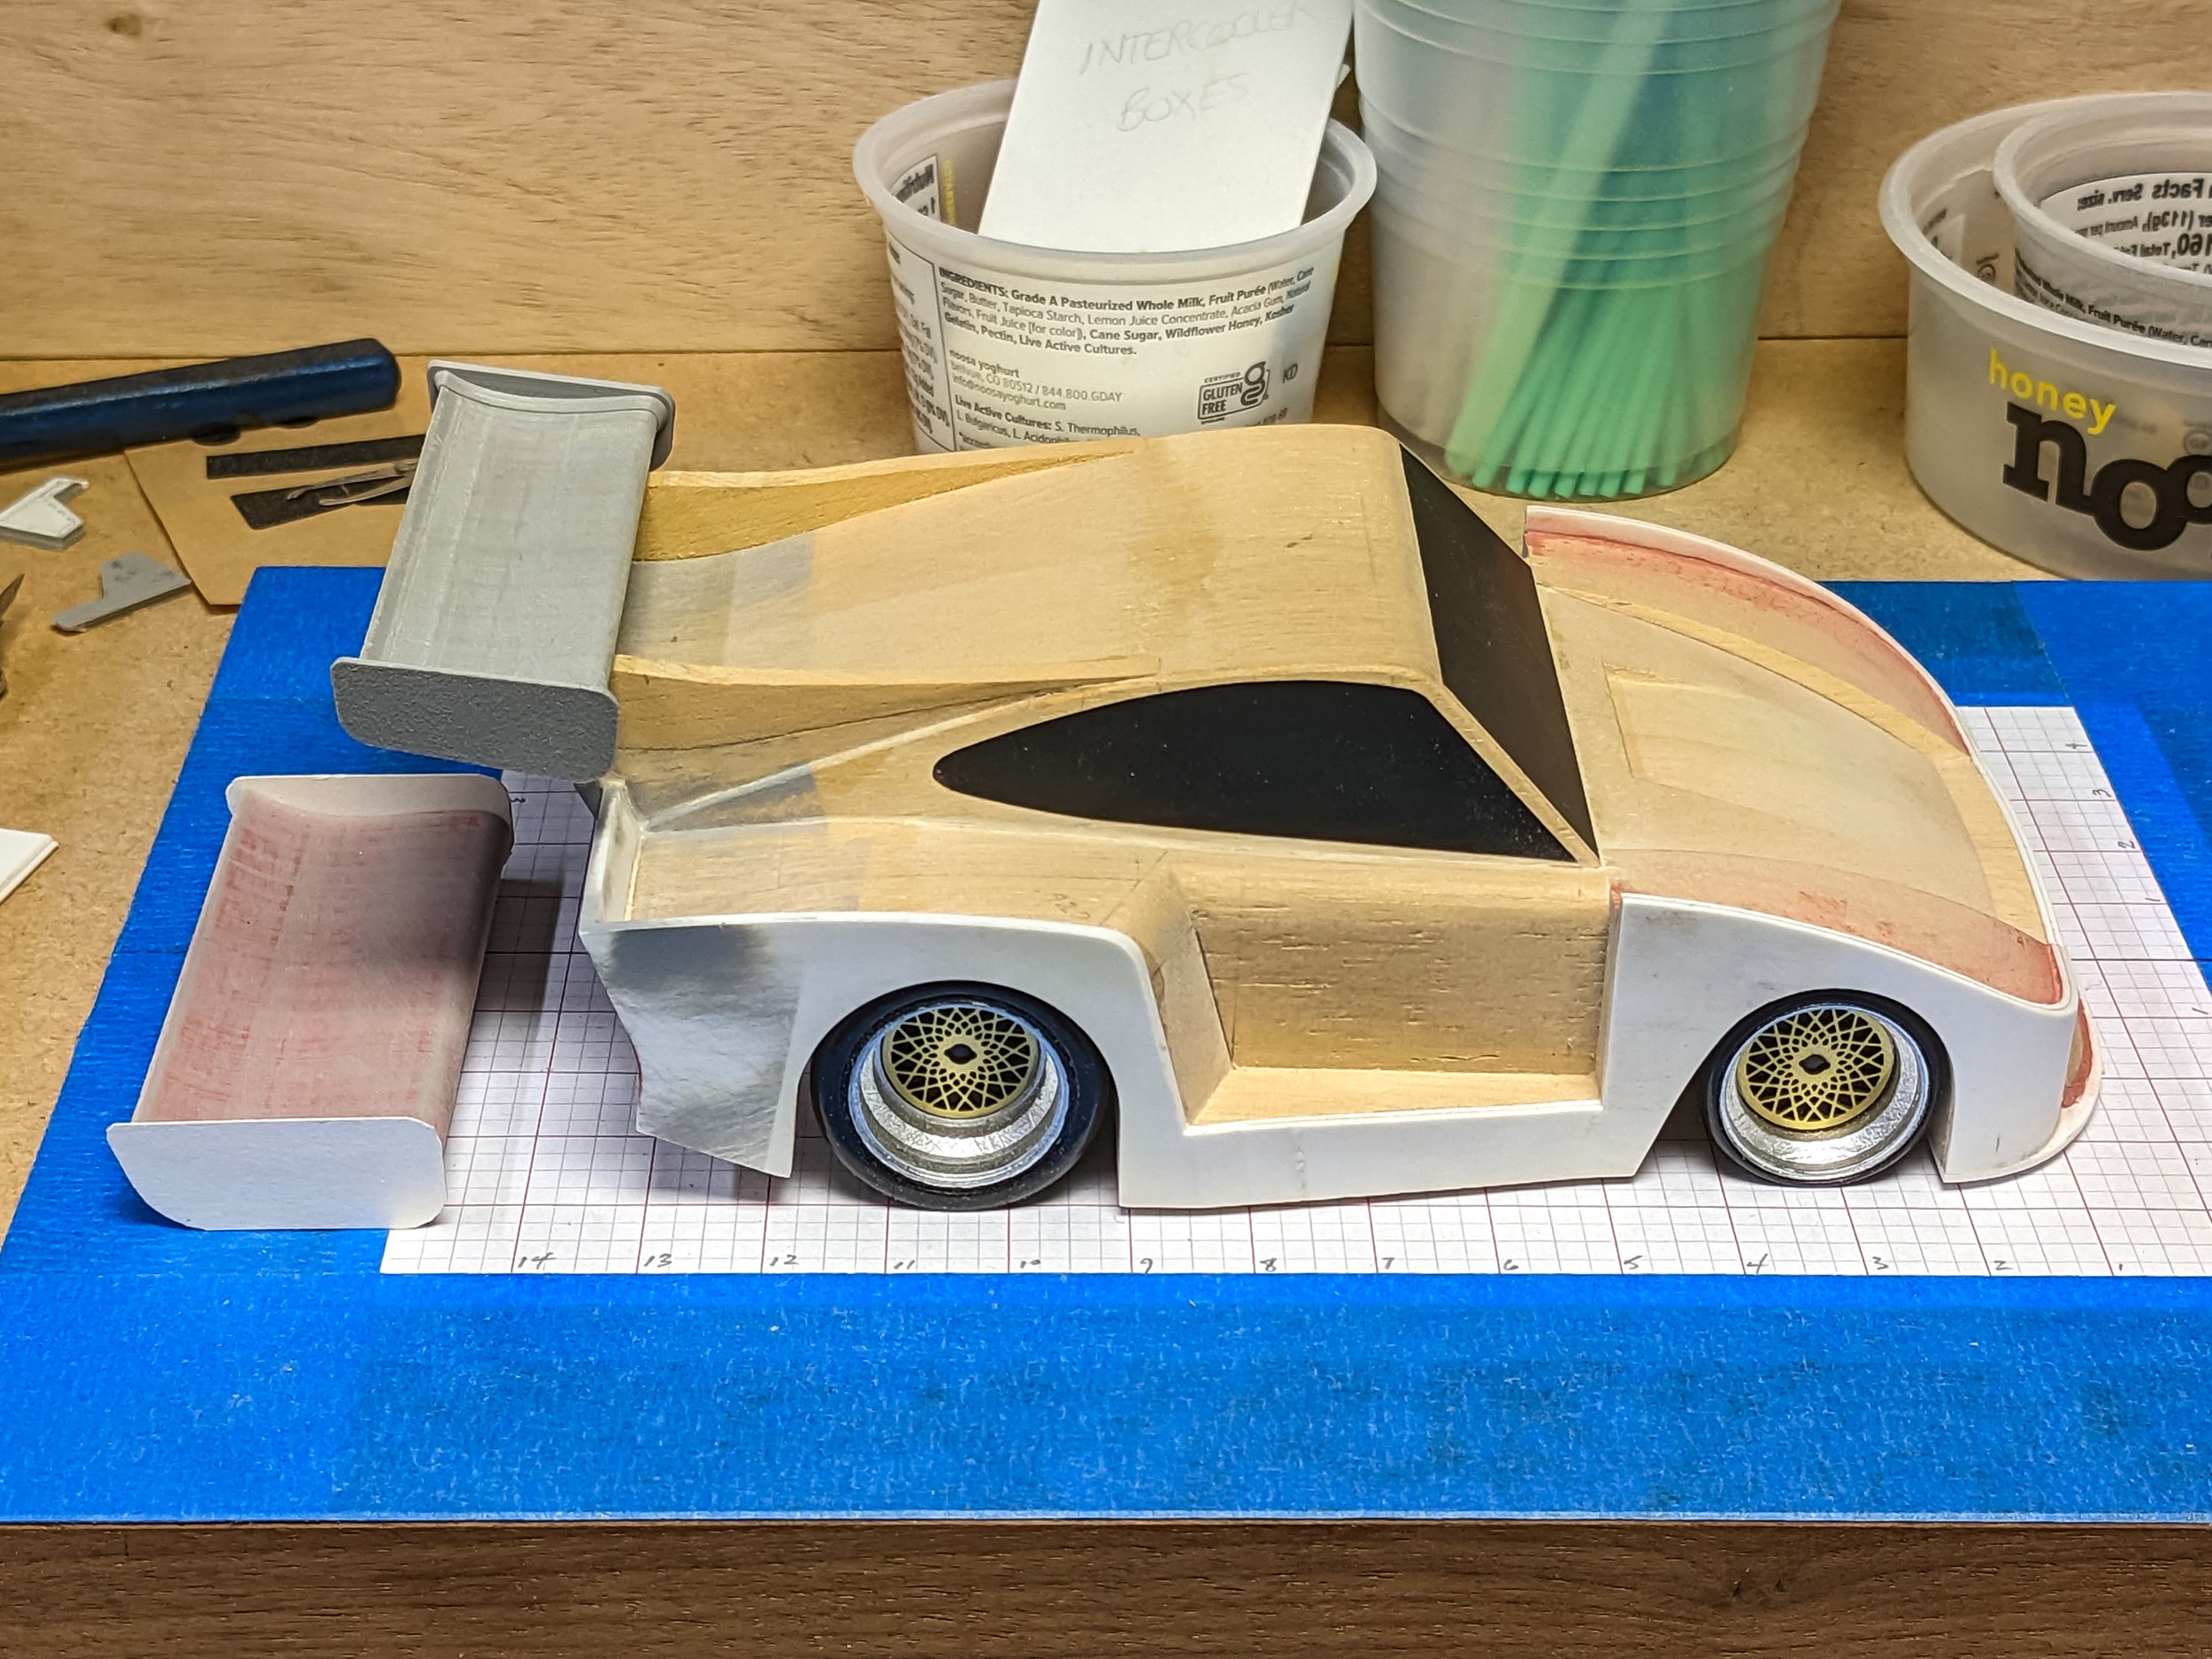
The first wing and end plates were too big, so after a little CAD work, a new one was made, also using 3D printing.

When I recently received the generous gift of many of my earlier pieces (please see the previous post for details), it was easy to see that the wings were the mostly likely to suffer damage over the years and decades. I'm working to improve that for these G935's and future pieces.
If you look closely at the left end plate junction with the wing, you can see the blended flange that makes the bond to the wing itself much stronger.

Here it's much easier to see the 0.080" (2.0 mm) deep blended pockets on each end plate. I was amazed that the CAD data and 3D printer worked together so accurately. Each piece slides on with nary a gap!

Also in the works are 3D printed driver and passenger wing connection brackets to give a stronger joint between the wing and the support struts.
The wing and its positioning are getting closer to being right.
Next up - 015 - Fender Fandango - Working on the rake requires some fancy dancing on the fenders.
For more of the story click on any of the following links:
020 - Graphics - Clear Coat - Assembly
014 - this post
012 - 2nd Skins Layer-Splitters