
My first (very expensive) 3D printed prototype part was done using SLA (Stereolithography). It was an air flow control chamber for a neonatal blood pressure unit I was of designing for what was then Siemens Medical Systems. The high cost was justified by the critical and complicated air flow, small size and the high cost of the eventual tool steel mold with actions on all six sides. That SLA part was made in 1992 by an outside service bureau and took several weeks.
Now I can make inexpensive FDM (Fused Deposition Modeling) parts on my desk in minutes. Certainly not big news in the real world, but it's a rocker in mine.
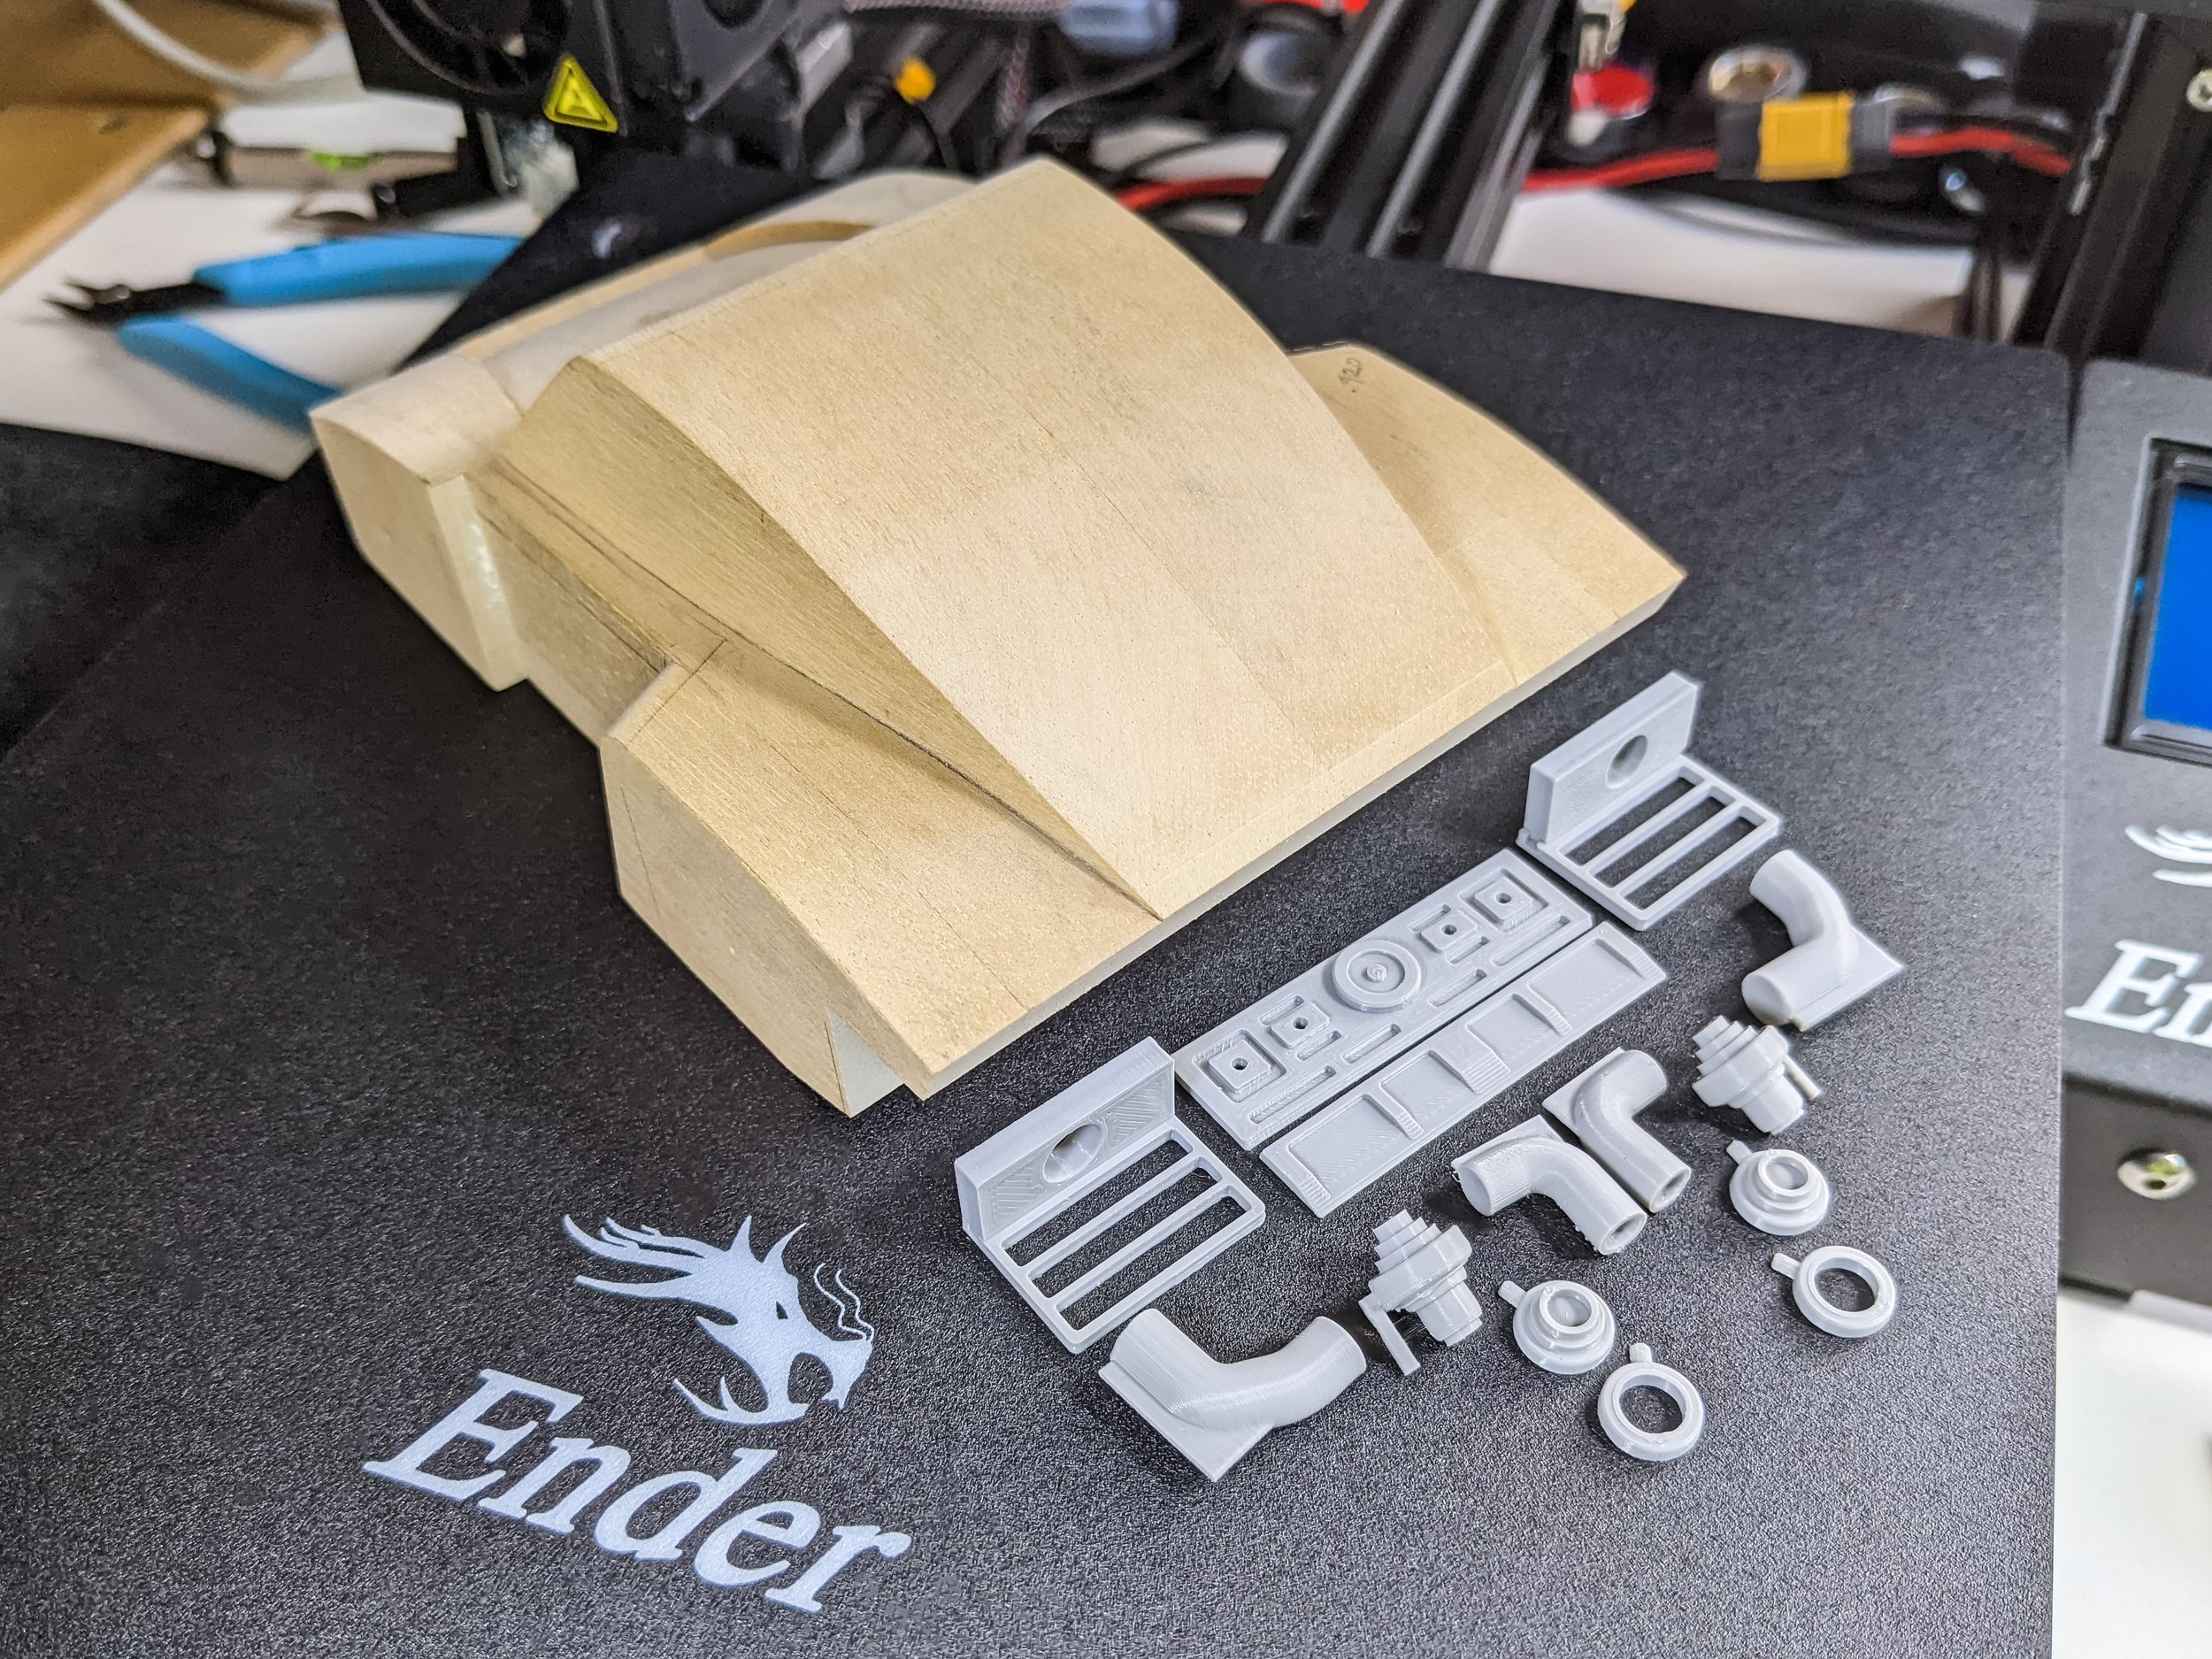
The three Porsche G935 sculptures that I'm making for my sons are almost entirely shaped from jelutong wood. Other materials are used sparingly and only where appropriate. Aluminum for the wheels, brass for wheel centers and details, cast acrylic for tires - and now my own 3D printed parts using PLA (Polylactic Acid) plastic. PLA is ubiquitous in the lower end of 3D printing because of its relative ease of printing and quite good physical properties.

The 935 engine bay filled with complicated mechanical bits is the perfect place to make excellent use of 3D printing. The sizes and shapes keep changing a bit here and there and the extra details that can be added make the ease of 3D printing into a great attribute.
To facilitate painting and final assembly, the overall setup is broken into 13 smaller parts. They’re quite fiddly for my giant fingers so it’s still a challenge to get it right. Being able to add locating bosses, pins and slots is a big plus.
It’s also great to be able to make trial parts to test joint tolerances - especially when paint is added into the mix. Now I can not only visualize the mating fits in the wireframe CAD model, but can also have prototype parts to try on the bench before committing to the whole finishing process.

In return for some computer time I can make tricky parts that I can then revise parts to my heart's content. Three iterations of the same part can be done in a jiffy as I work out how the turbos will mount and make other updates as the engine bay evolves.

This is one of the exhaust turbo housings. The locating pin is the tricky bit to print. My third go at it is to split the part in two to make it a little more accurate. Just looking at it now and thinking back to various assembly tests so far, I think I’ll go back to a rectangular tab and slot arrangement to help line things up, but keep the split for better printing.
To make each new version I save the revised CAD data for the part as an .stl format polygon file. The rat's nest of black and white lines is actually thousands of tiny triangles.
I use a separate program to slice the .stl data into layers, create the outline geometry and then fill in them in and stack them up. The same program creates the G-code (machine code) which the printer uses to actually move the extruder tip in the X, Y and Z axis' to create the parts. To check them I can step through the printing process layer by layer if needed.
Sounds complicated, but the tools are surprisingly straightforward and speedy.

This is the whole set up including a PC behind the screen. Its separate from my CAD computer to help prevent “cross-pollination” of any malicious code. All I do is rotate my chair from one endeavor to the other.
The printer is to the right of the mouse with a vertical black gantry for the extruder hot end which zips around across in the X axis and up and down in the Z axis. The flat plate holding the "build” makes its amazing journeys in the Y axis. It all adds up to 3D geometry. It’s rather mesmerizing to watch especially with small parts which stay under the extruder as they’re built.
3D Printers are a tool to be respected as they slowly teach one the intricacies of developing parts for its specific capabilities. Having a long background in design and engineering helps, but good parts must be earned. I'm starting with a novice 3D printer and it will take time and experimentation to get better and better parts. That learning process is a big hunk of the fun!
Next up - 008 – Rear Fenders-Plan View Profile – Engine bay spacer plates have been added and fender filler pieces have been glued and blended prior to final shaping.
For more of the story click on any of the following links:
020 - Graphics - Clear Coat - Assembly
012 - 2nd Skins Layer-Splitters
007 - this post